
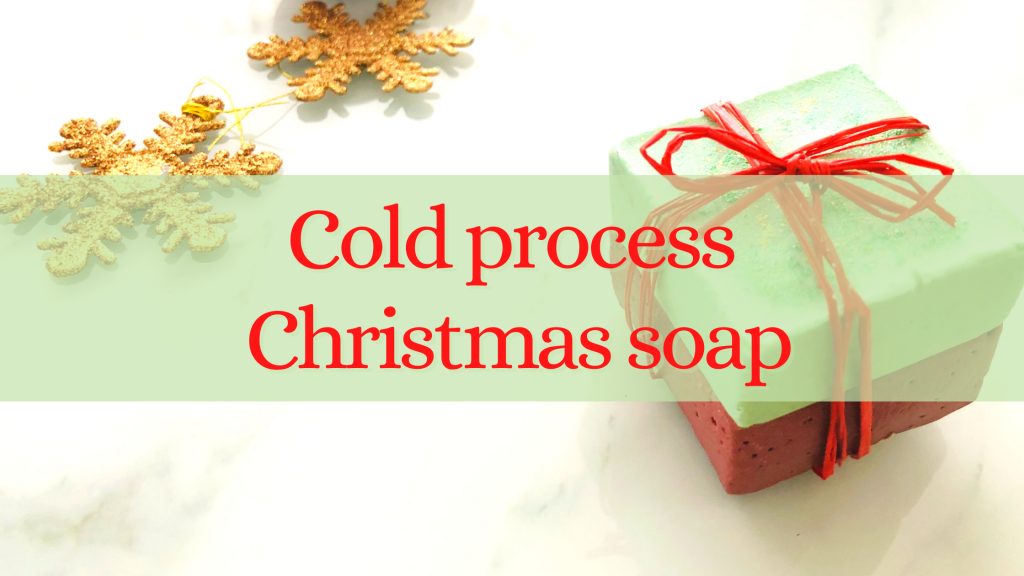
If preparing cold process soap is one of your favorite hobbies, why not make some simple and appealing scented soap as a Christmas gift? In this post, I will show you how to create simple homemade cold process Christmas soap that with the right colors will be perfect as a gift.
Disclosure: Some of the links in this post are affiliate links. By clicking through them and making a purchase, I may receive a small commission WITHOUT any additional cost to you.
Gabi
Cold process Christmas soap

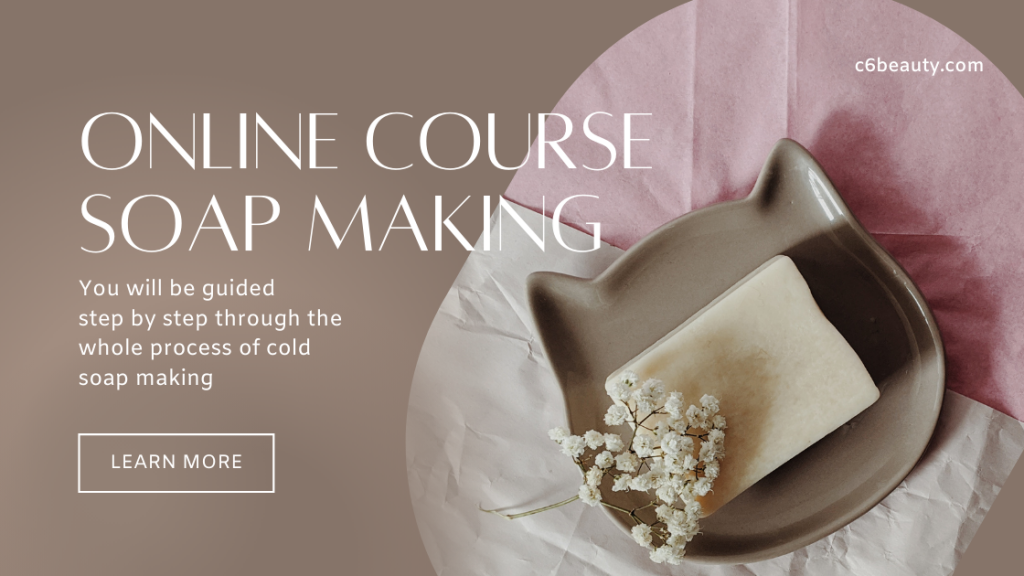
Making homemade soaps is one of my favorite hobbies. Using the cold process to make my soaps is one of the techniques that I enjoy the most. The cold process allows me to customize my soap, enhancing the qualities I prefer! If you are interested in creating homemade soaps but don’t know where to start, take a look at the course I have created! Everything you need to know about preparing soap with the cold method.
For this recipe, I will prepare six small soaps of 50g (1.76Oz) each, which I will color with green and red pigments. The right color combinations and the customization of the gift will make us avoid having to design soaps too complicated, risking to compromise their quality.
Cold process Christmas soap | Ingredients
In order to create cold process Christmas soap we will need:
- 50% |105g (3.70Oz) olive oil (you can find it here)
- 2% |4,2g (0.15Oz) castor oil (you can find it here)
- 30% |63g (2.22Oz) shea butter (you can find it here)
- 18% |37,80g (1.33Oz) coconut oil (you can find it here)
- 79,80g (2.81Oz) distilled water (you can find it here)
- 29,9g (1.06Oz) Lye (you can find it here)
- Pigments: green and red
- EO (facultative)
Work tools and safety
The main tools used are:
- protective glasses (you can find them here)
- glass rod (you can find it here)
- protective gloves (find them here)
- protective mask (find it here)
- silicone molds (you can find them here)
- immersion mix (you can find it here)
I suggest you read my post on “what they don’t tell you about soap making” to make soaps in a completely safe way. I thought it was really important to describe the mistakes I made in the first months of saponification. This post will be useful to you to avoid potentially critical situations only by following some simple tricks.
Procedure
To make our soaps we will, first of all, weigh the fats and heat them in a bain-marie until they are all melted and amalgamated. In the meantime, we will weigh the caustic soda and pour it into the water (NEVER THE OTHER WAY AROUND!!). When the caustic soda solution is ready and the fats have reached a temperature of about 45°C, we will pour the caustic soda solution into the fats. With the help of an immersion mix, we will create our soap. When we reach the trace, we will divide our soap into two batches and pour the two pigments into each of them respectively.

After they are well amalgamated, we will only have to pour the chosen fragrance (3% of total oils), mixing it properly with a spatula. At this point, we will pour the soap into the molds and let it cure for weeks. To make it Christmas, I dropped some glitter (biodegradable) on the surface of the soap.
Finally, we will wrap them in a colored ribbon and our scented soaps are ready. Have fun creating your own soaps and make this Christmas special by giving some of them as gift.
If you really like the idea of DIY but due to lack of time you cannot make your gifts in the short term, there is a simple solution. Check out my post on sustainable handmade gifts that can be found on Etsy. A platform that allows small artisans to sell their unique creations! Etsy provides a great variety of products for many categories, Home & Living, Jewellery & Accessories, Craft Supplies & Tools, and much more! You just have to click on a link and have fun, looking for what you like best! Check it out here.
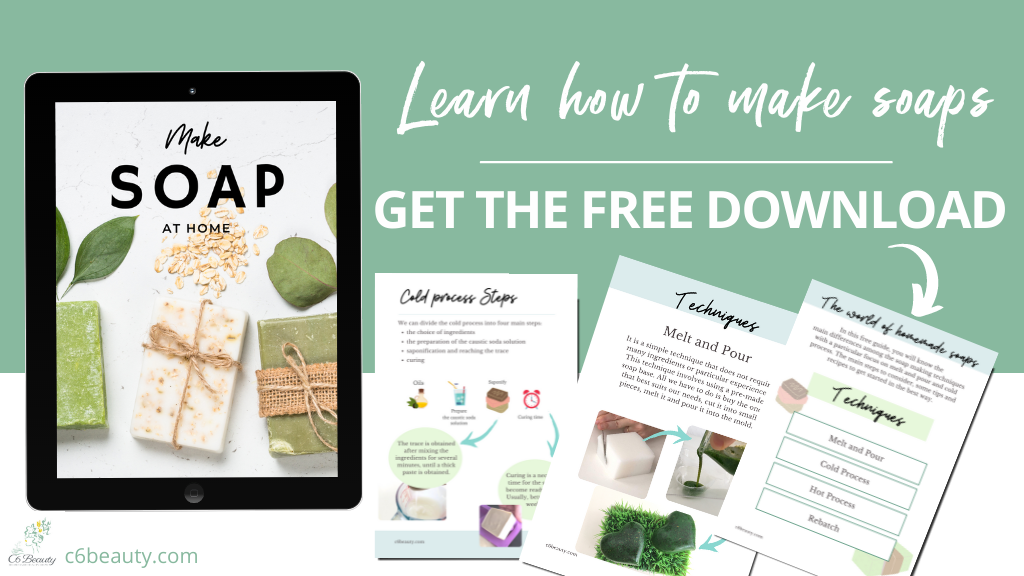
Ready to make your first soap with my FREE guide to making soap?
Grab it now!!
If you like my content, help me with a small donation. With your support, I would like to buy new ingredients and create original healthy beauty products! Thank you 🙂
Gabi